After dealing with cutting the edges, merging vertexes, repositioning body parts, I was really eager to finally start with the more visual pleasing part.
A few weeks ago, I had shot a bit over 40 pictures of my brother – whole body photos as well as close-ups from different body parts like the head or hand. I used these as source for the skin.
Before getting started I tried to adjust every chosen picture to assimilate the coloring and lightness in Photoshop. Unfortunately I had a few difficulties because I didn’t pay too much attention on the light during the shooting (which came from the two windows on the right side and front of my model) and so the body was always relatively bright on the right side and in the shadow on the left side.
I could solve the problems but it took me a lot of time.
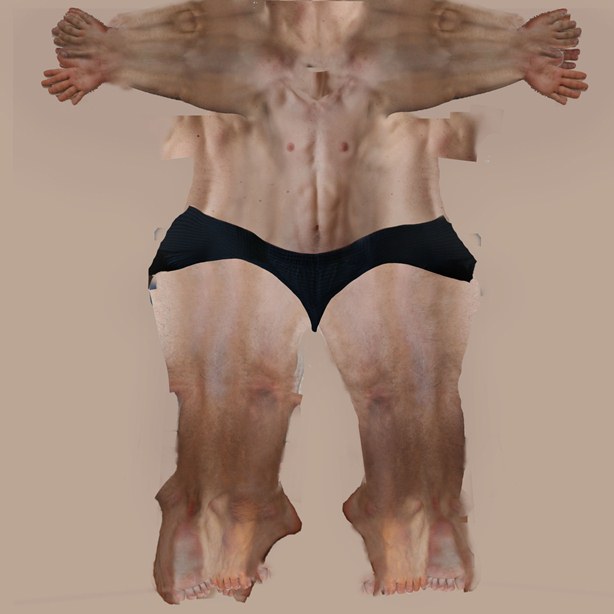
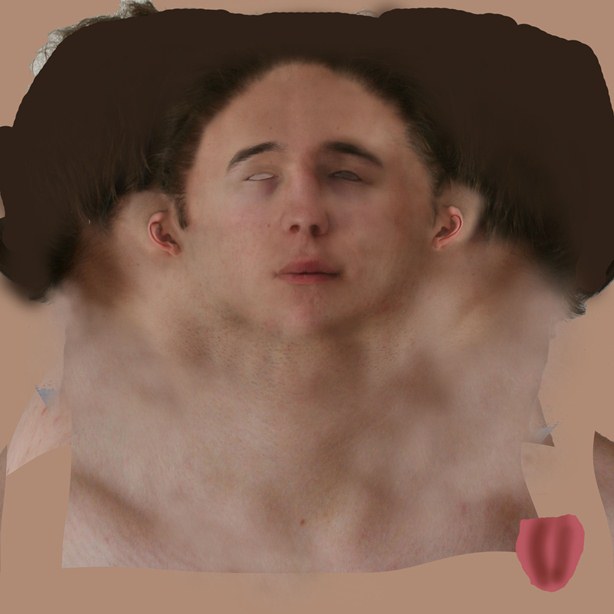
Starting with the body, I applied further skin-parts of different photographs to the legs and arms. The “warpe” function of Photoshop proved therewith as very useful. The stomach and legs took not too long but arranging the hands and feet as well as the ears were more difficult and time-consuming.
The pictures below show intermediate steps of this whole process:
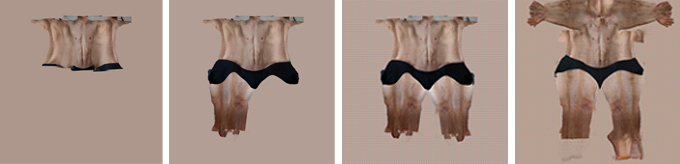
Creating a believable skin texture took me a lot more time than I would have expected, at least more as the modeling process. Aside from that, it was also sometimes really difficult to match the skin tone and avoid visible breakings in the texture.
Nonetheless, it was also an enjoyable part in the process of the personalization of one’s own character.
 |
 |