I have always known that it is very important to keep a special number of sides for each polygon, which should then be respected during the whole modeling process. As far as I know, three sided edges are suggestive for games because every object can be split into triangles. But as a Maya-user and, for me, as a character modeler it is wise to aim to create only a model with four-sided polygons.
In the past I often didn’t see this approach through to the finish. And resigned if the object was too complicated or I did not have enough time.
However this time it shall be different, I will stick to the structure of four-sided polygons to make sure my model is flawless and there are no odd deformations when I apply the MoCap data.
By doing this I learned a few cool tricks from the video guide how to solve problems if a polygon is not regularly sided.
| Here is the first of these tricks: | 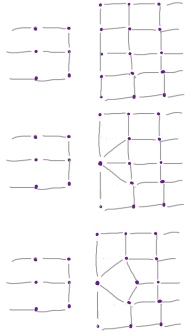 |
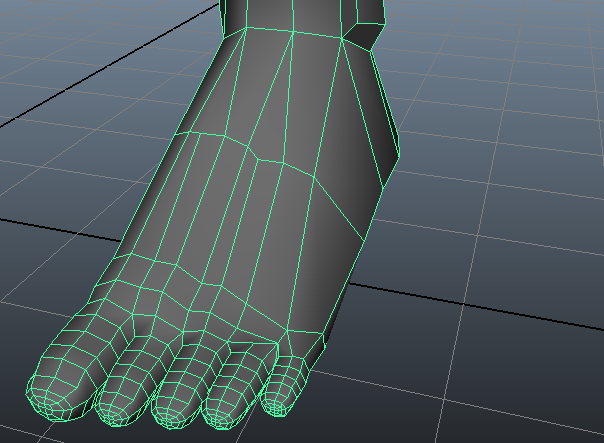
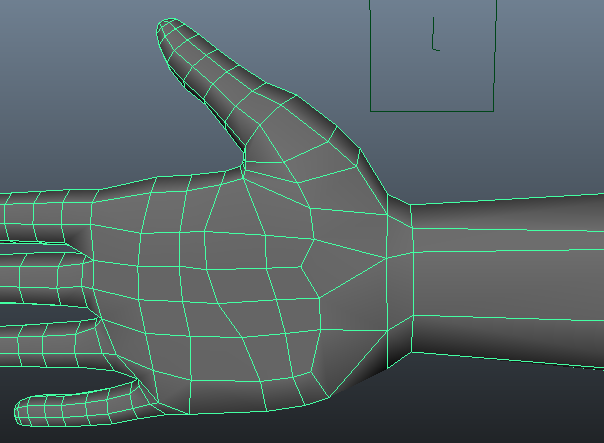
| In my case I could use this technique to connect the hand to the body and to allow a more detailed shape for toes. | |
  |
|
The example of the foot is also a good bridge to my next step on the model. I started to work out a few muscles like the calf muscles, as well as the back muscles.
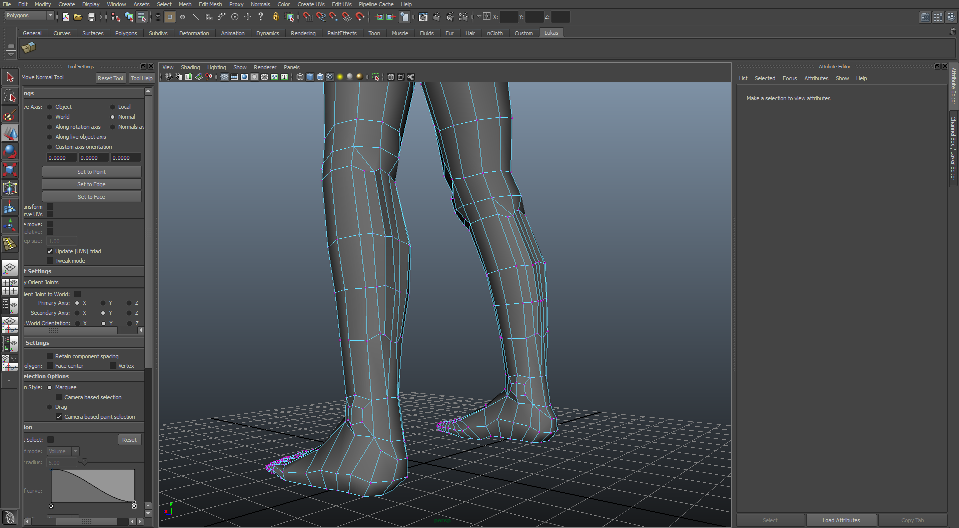
The trapezius muscle (on the back) proves turns out to be difficult. If I extruded them too much it looked unrealistic, if I smoothed the sides of the extrusion it looked just like a fat back. And if I did not extrude them at all the shape was awfully boring.
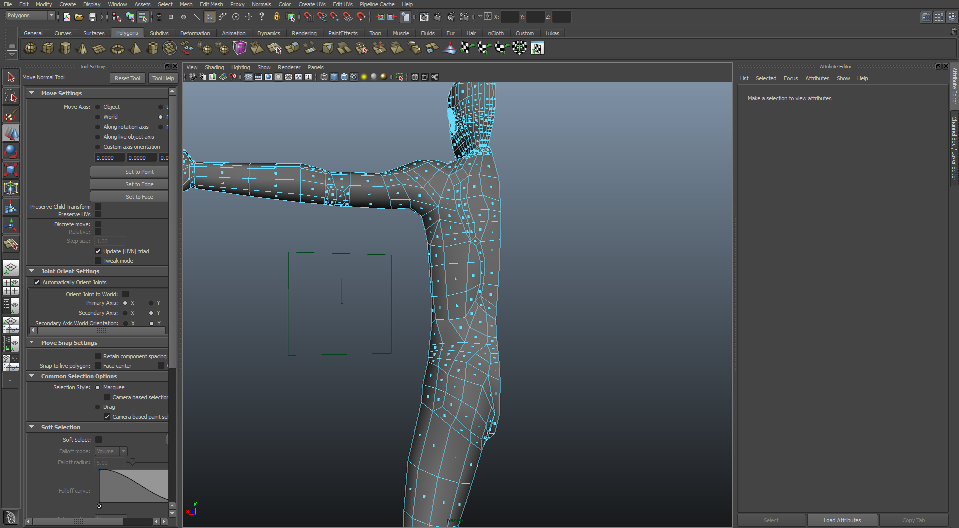
After finishing the basic of the body, I reloaded new Image planes of the head which were more defined. Strangely, my brother’s shape of the head seemed to have changed from the old picture I took in February and the actual one from March 😉 So, again a little reforming incurred.
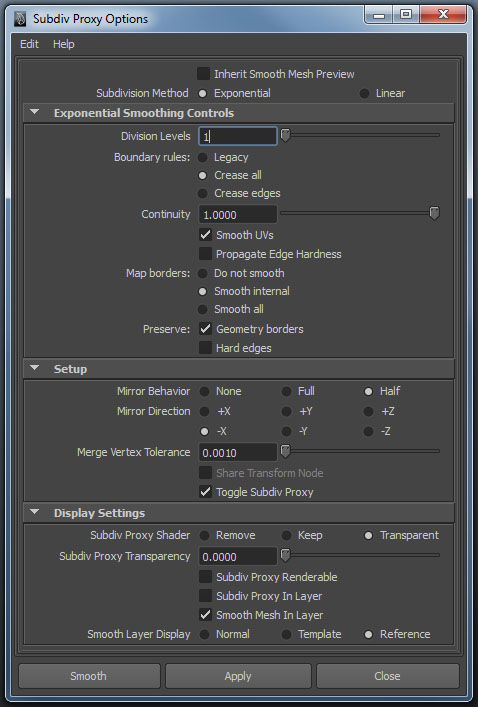 |
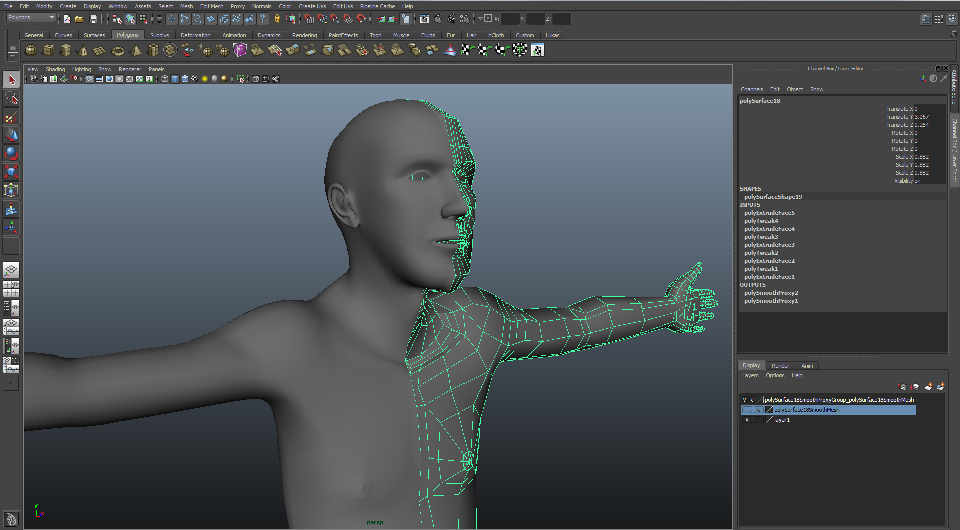
The last modification I got to work on yesterday was the creation of a proxy. It was the first time I used this tool and I’m already a fan of it J
I selected half of the body and said Proxy > Subdiv Proxy (Options) and selected the Display Settings “Smooth Mesh in Layer” (to blend it in and out). |