Hey guys, finally I’m slowly approaching the end of my media computer science studies. But in order to graduate I still have do my bachelor thesis.
While I’m still discussing the main content with my professor (when the topic is clearly defined I will post it here) – one part I already know for sure: that for the Motion Capture work a character is necessary.
In my (often blind) ambition, I thought creating a realistic human character would be fun. But since a dog cartoon character (from a teaching book) is my only experience with character modeling, this will definitely be a very thrilling ride.
And so I thought why not write a little diary about my experiences, problems, break through’s (hopefully without break downs) and everything else that crosses my way to the final thesis.
So, let’s start right away.
As already mentioned, I decided to model a realistic human character. My little brother was so kind to let me take blueprints of him. So getting good material was no problem here (hopefully he won’t have any regrets after seeing the final result).
The chosen software is as always Autodesk Maya (since today even Maya 2013 *yay*). In the further process I will also use headus UVLayout and Photoshop to texture my character. I’m not quite sure yet what software I shall use for the processing of the motion capture data. I read a lot of things about the well-known Motion Builder but lately I’ve also come across the new Maya Plugin IKinema. I definitely have to do a lot more research about that kind of stuff.
But even though having kept in mind that all those things still need to be clarified, I nevertheless started to model dewy-eyed.
In order to not getting lost in my inexperience, I used a Digital Tutor Video as guidance. The video follows the approach for modeling the different (bigger) body parts separately and combining them later with the bridge – or similar tools. Up until now I preferred to model out of one single object, but I have to say I do now see some advantages in modeling single/separate parts first (even so I will probably retain my old method for the most part).
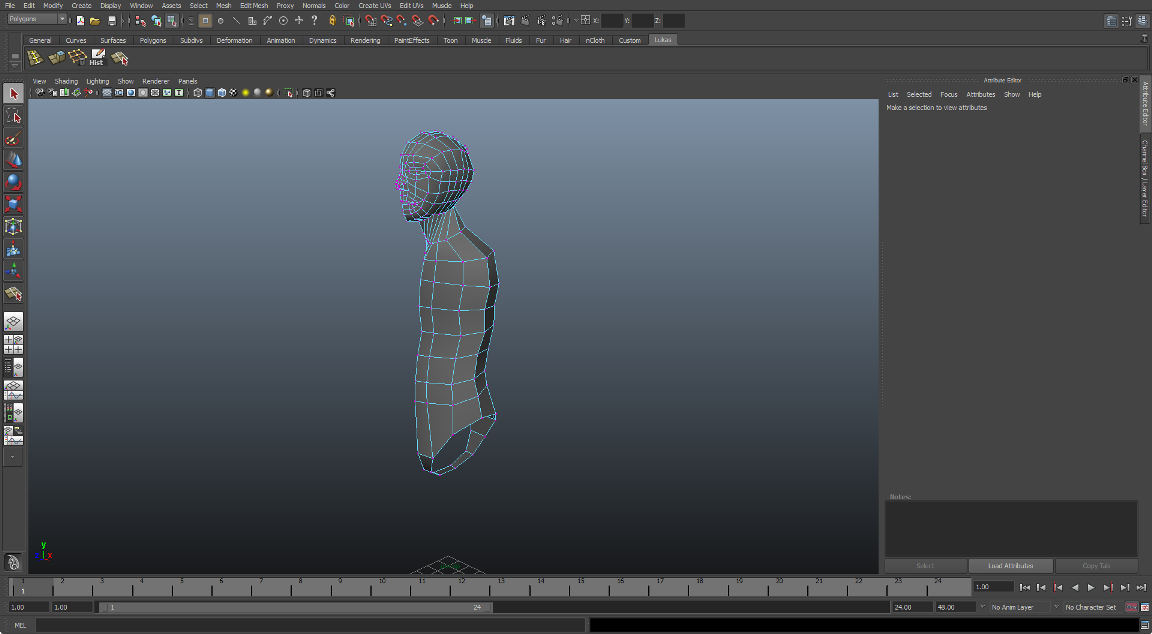
In this picture you can see that I started with the body, made the head and already combined them.
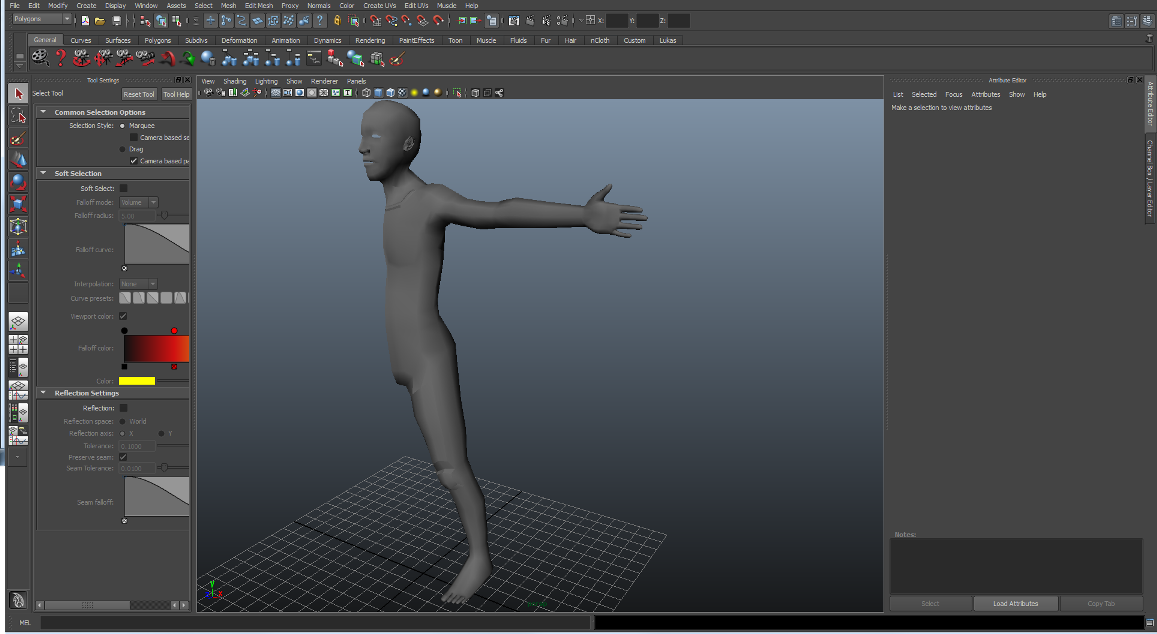
The next image shows the whole body (without any details). I finished the rough structure of it and have begun to carve out some muscles and bones like the knee and collarbone.
Really lavish was to get the ear and the face proportions right. I’m still playing with that, so you’ll see my result in the next post.