It’s been a while since I updated my bachelor thesis status. The reason was a two and half week journey to the south west of the USA – which by the way was an absolute fabulous vacation (curious? -you can see a few photographs here).
But back to work. My deadline (in September) is approaching in big steps and so I’m happy to admit, that I could finish the main modeling work.
Let’s have a look at what happened since the last post.
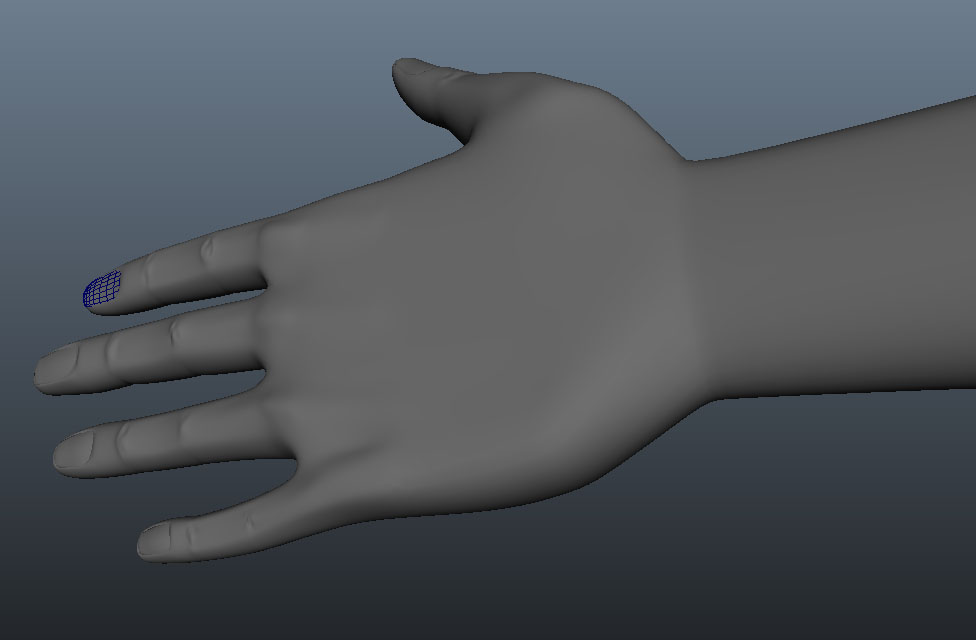
I think the first change was the completion of the finger knuckles and afterwards the creation of finger nails. I’m afraid I must confess I got a bit stressed out because this task took so long and had to be done ten times (five times for fingers and for toes). Speaking of toes, the foot also took a lot of my time and I found it more difficult than the hand.
Up from the bottom, the knees and hip were fast done. Because I already had a round shape in the middle of the belly, the belly button had only to be extruded a few times. But I’m still not really satisfied with my brother’s abdominals. He’s always been very athletic, so he has a small but visible six pack. At the moment it is more a “one pack” but I didn’t want to add more resolution so let’s hope texture maps can solve this issue.
Going further to the top there were almost no changes needed for shoulders and neck. So there’s only the head. Probably the most time-consuming and pretentious part of the body but also the part which offers you the biggest possibilities to outline a model’s personality. The eyes were created with a surface sphere in different layers to allow a more realistic look. Whether this will work out remains to be seen when it’s time for texturing and shading.
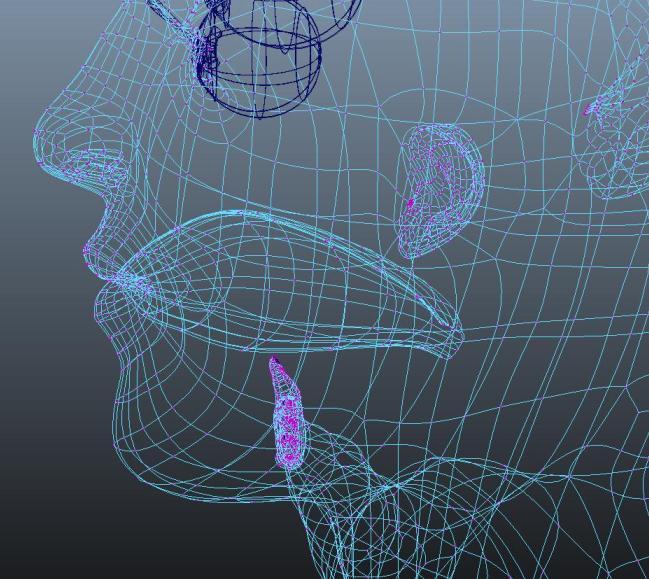 I think the most difficult part of the face were the lips but perhaps I’m only thinking that because after inserting several edge loops it got a little bit crowded and it was hard to stay on top of things.
At the end I had another look at my model’s blueprints and tried to adjust the model to the photographs.
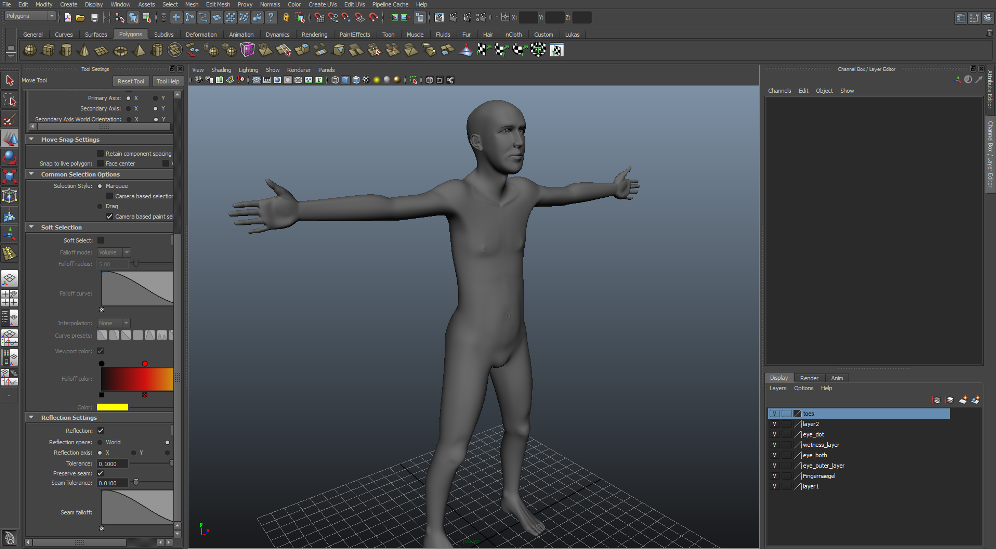
Finally done with the model I used Proxy > Remove Subdiv Proxy Mirror to delete the Proxy and mirror the model to contain one whole person.
Because pretty much nobody is really symmetric I added very slight changes to one half of the body – of course according to the unbalance of my brother’s blueprints.
So here we are with a finished model. The eyebrows are temporarily modeled from a polygon object. I’m still trying to decide what to do with the hair. Actually I want to keep with my path to a realistic model but I’m not sure if it’s wise to have a model with “real” hair, motion capture data and a relatively weak laptop combined.